Quickstart
Install Frame Up
Open Frame Up on the Shopify App Store , then click the “Install” button.
Start free trial
Choose either a Basic or Advanced plan to start a free 10-day trial of Frame Up.
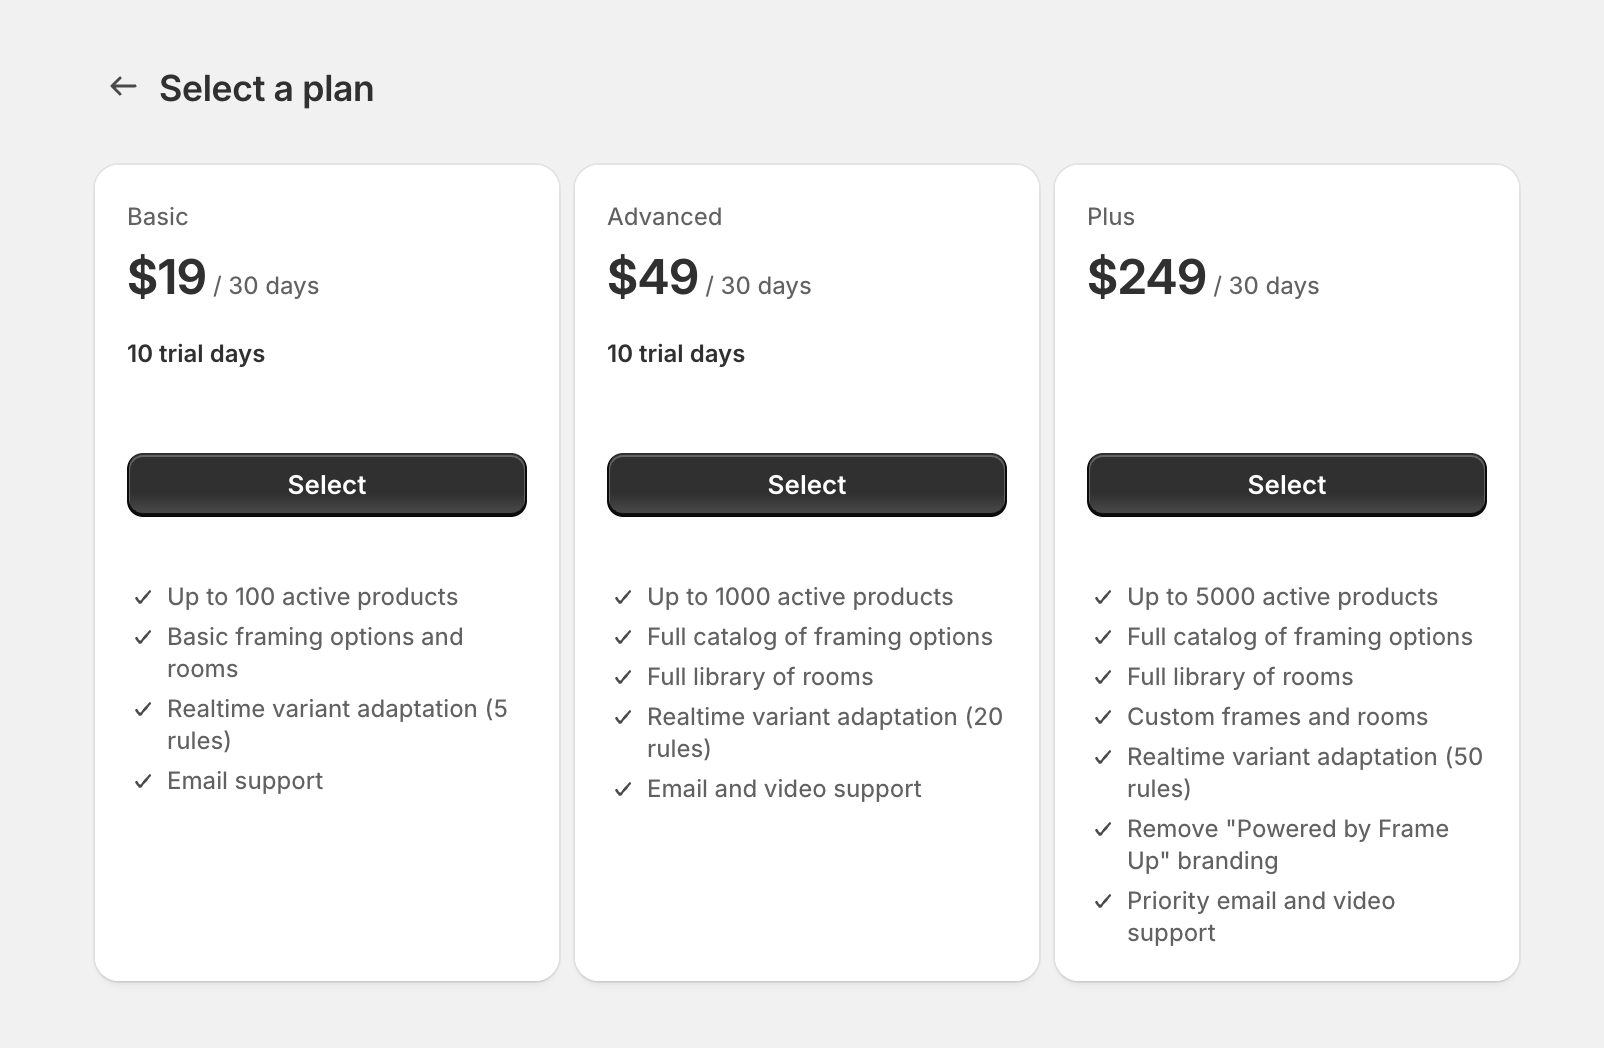
Onboarding
Preview in the app
Before adding the plugin to your website, let’s preview the plugin with one of your products in the app.
On the left side of the app you’ll find the “Preview” section. Use the search box to find and select one of your wall art products.
Your store should have at least one wall art product, and its first image should be just the artwork with no frame or other background.
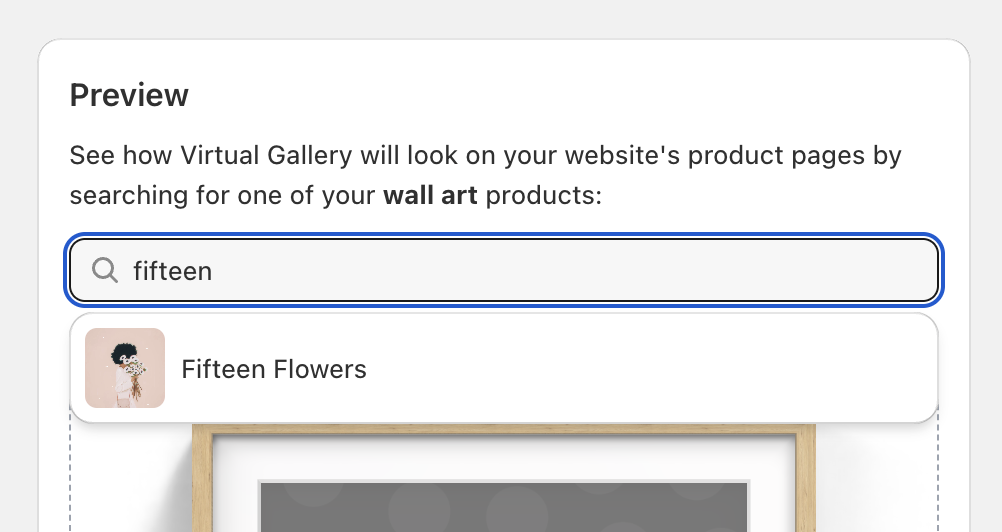
Below the search box you’ll see a preview of how the plugin would appear on a website.
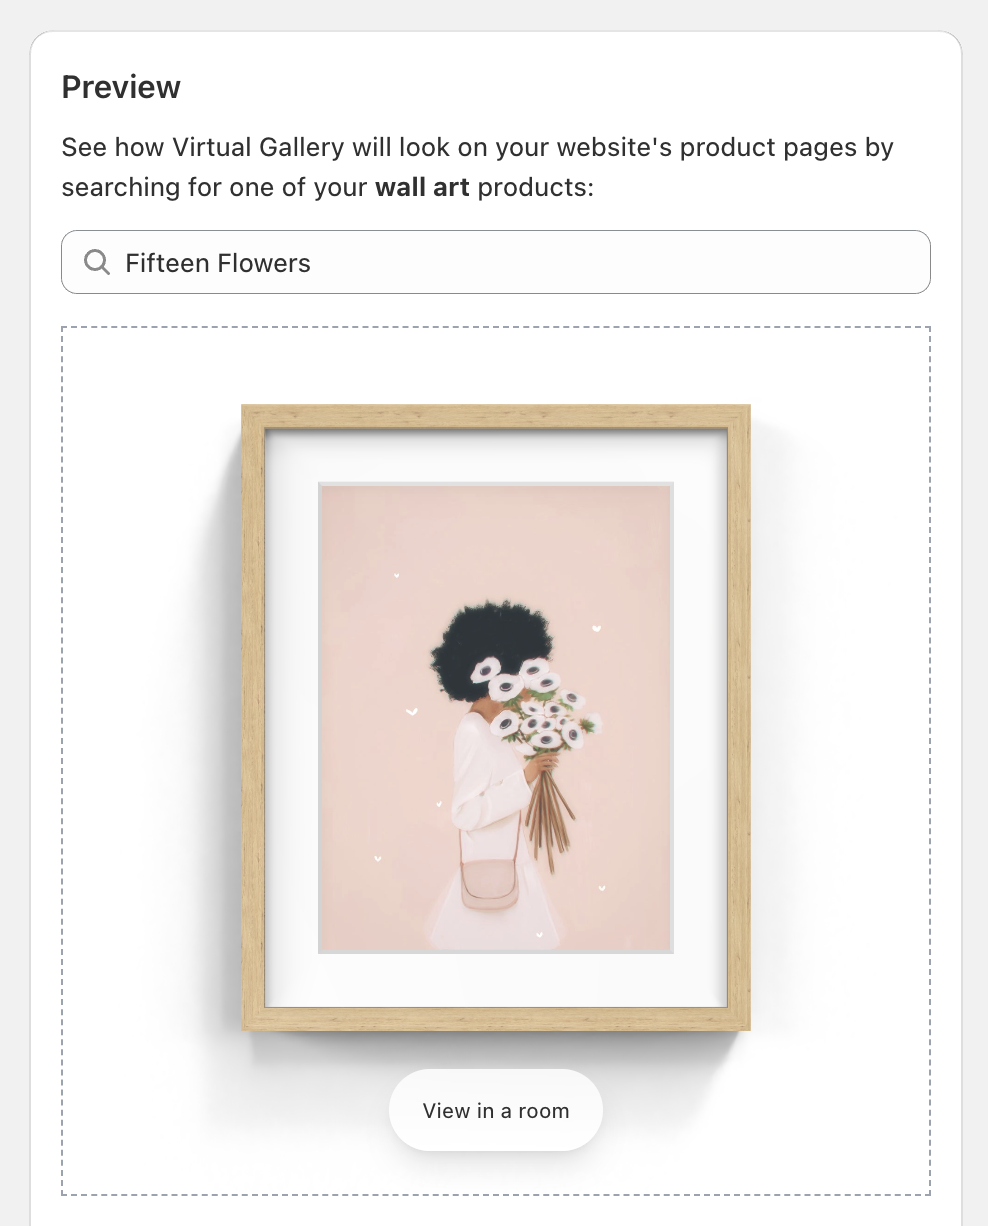
The plugin replaces your existing image gallery on your wall art product pages.
Try hovering the mouse (on desktop) or touching (on mobile) over the artwork to view it from different angles. Also try clicking the “View in a room” button.
Preview in the theme editor
To see how the plugin looks when integrated into your theme, click “Open in Theme Editor”. This opens the Shopify theme editor with the Frame Up plugin enabled.
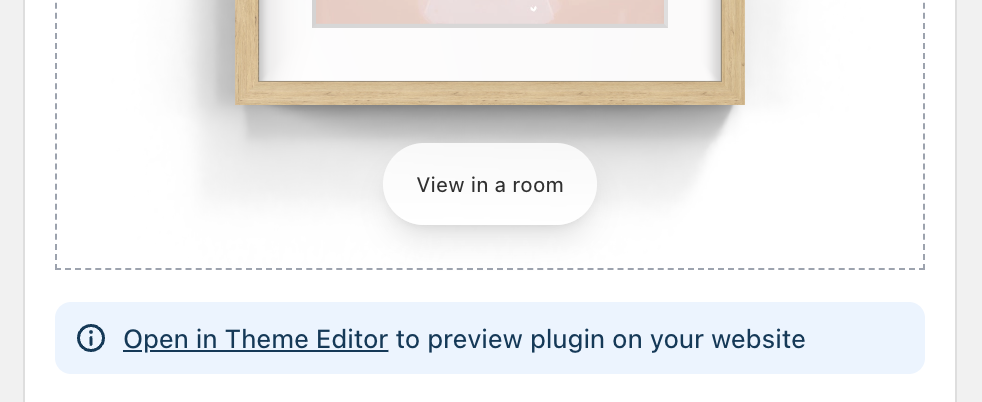
You should see that the plugin has replaced the standard image gallery. Sometimes third-party themes have compatibility issues with Frame Up. If you don’t see the plugin, please contact us and we’ll find a solution for you.
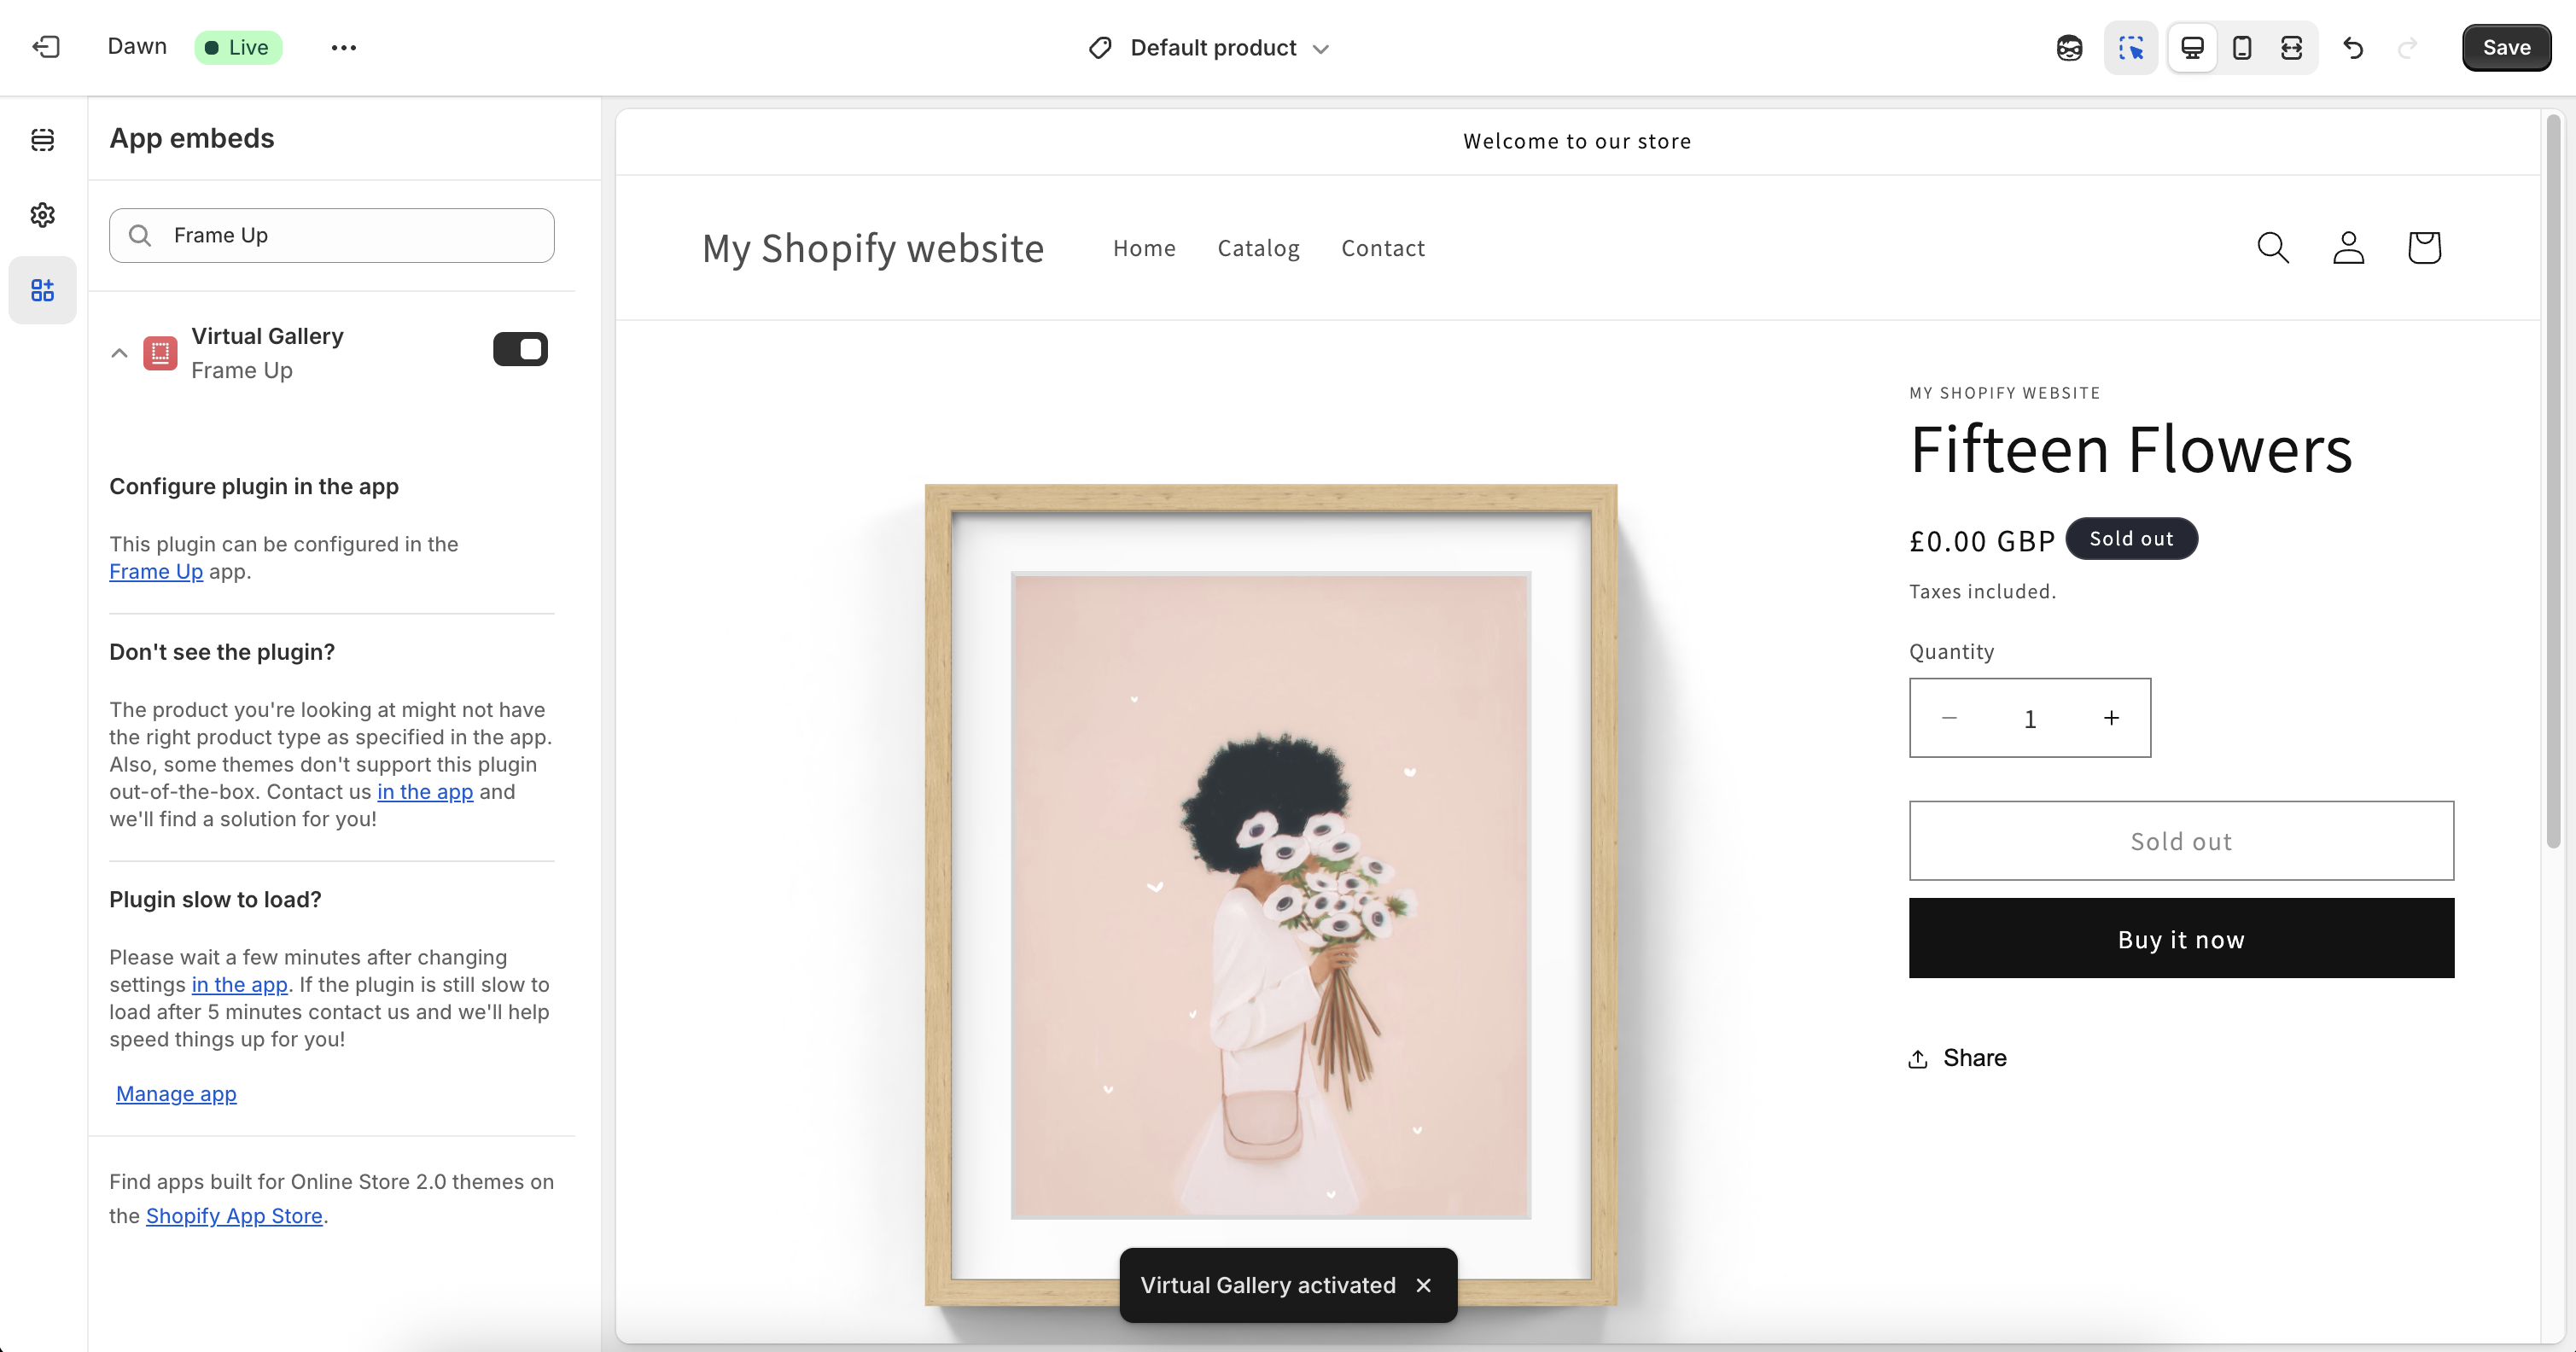
Clicking “Save” in the theme editor turns the plugin on for your live website. Save when you’re happy with how it looks.
The plugin may take a couple of seconds to appear in the theme editor, but should appear instantly on your live website.
Next step
You should now have an idea of how Frame Up works. Next we’ll look at how to customize the plugin for your store.
Product type: learn how to enable Frame Up only for some of your products.